Design primers
Use this page when you want to design primers from the active plasmid context, review candidates, and keep or export the primer set you trust.
Before you start
- Open a plasmid in
Sequenceview. - Create a sequence selection if your design depends on a specific region.
- Know whether you are designing for
Single,qPCR,Cloning, orQuikChangebefore you open the wizard.
Step 1 — Open the primer tool
Open the Primer menu.
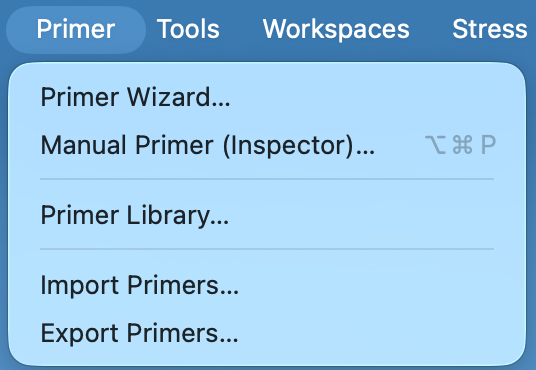
- Choose
Primer Wizard.... - Use
Manual Primer (Inspector)...orPrimer Library...only if you already know you need them.
Open Primer Wizard... from the Primer menu to start guided design from the active plasmid context.
Check your result
- The primer tool opens with the current plasmid context.
- If you made a sequence selection first, the selected region is available to use.
Step 2 — Select a target region
- Set
StartandEnd, or clickUse selection. - In
Mode, choose the design you actually need:Single,qPCR,Cloning, orQuikChange. - Keep the default constraints unless you have a specific reason to change them.
- Primers are designed relative to the selected region, so confirm the region is the one you actually want to amplify or modify.
- If you are targeting coding sequence, use
Use longest ORFonly when that matches your design intent. - For cloning designs, set the tail mode you need:
None,Restriction,Golden Gate,Gibson, orCustom.
The selected region drives where forward and reverse primers are placed. In most cases, the default length, Tm, and GC settings are sufficient for a first pass.
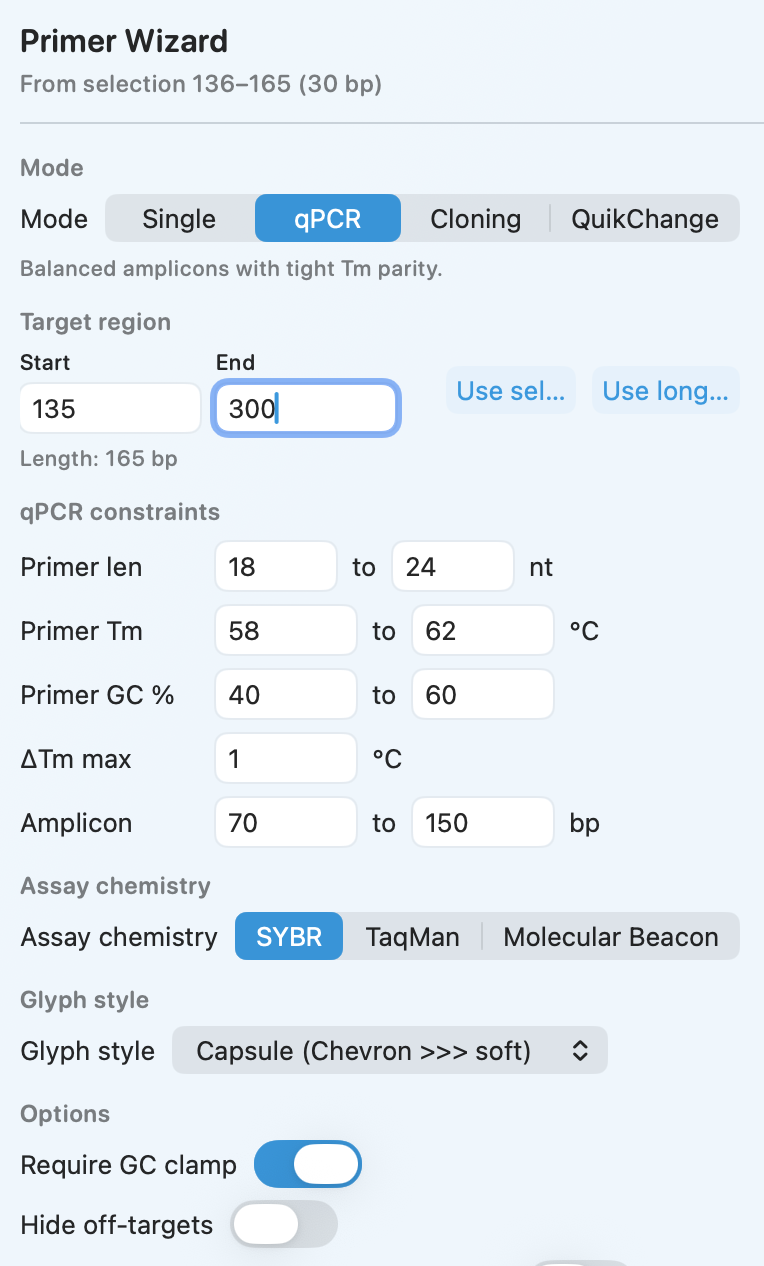
Confirm that the selected region in the sequence view matches the locus you intend to target before you generate candidates.
Check your result
- The region summary matches the locus you intended to target.
- The wizard shows the controls you expect for the selected mode.
- The selected region is visible in the sequence view if you started from a selection.
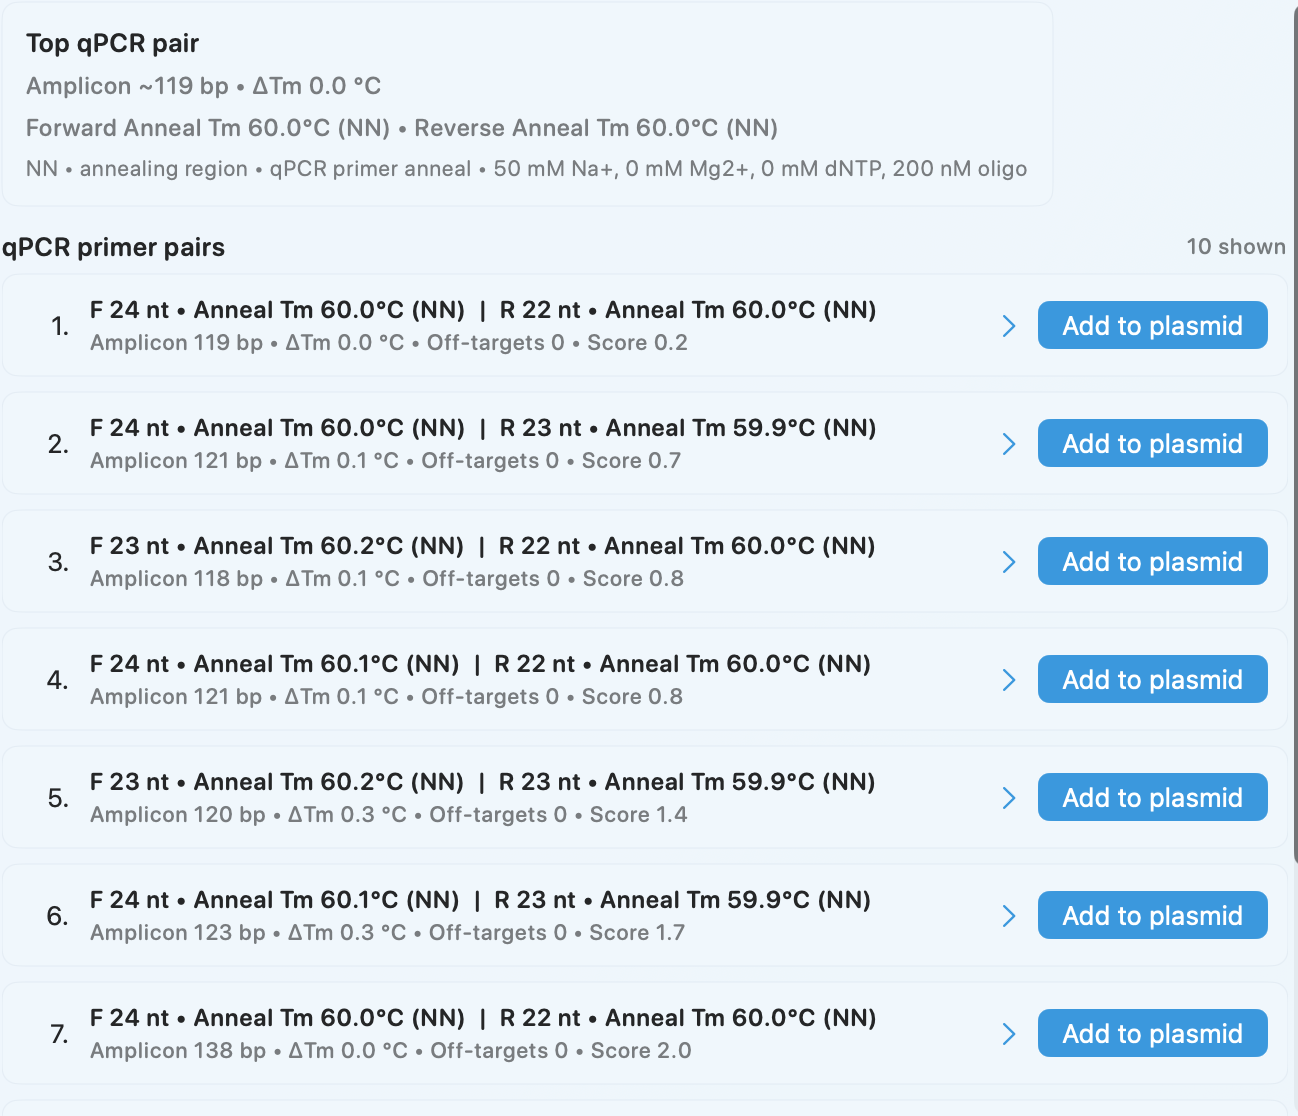
Step 3 — Review primer candidates
- Click
Generate primers. - Review the candidate rows and summary metrics.
- Compare the top forward and reverse primer pairs before you save or export anything.
Review the returned pairs and compare the reported metrics. When ranking is present, start with the top-scoring pair, then compare amplicon size, anneal Tm, off-target counts, and score before choosing a final set.
Check your result
- Candidate rows are populated.
- Each candidate shows a forward and reverse primer pair.
- You can identify which pair you want to keep instead of seeing an empty state.
Save, import, or export primer records
- Add the candidates you want to keep to the current plasmid or library.
- If you need to bring in an existing library, choose
Primer > Import Primers.... - If you need to hand primers off, choose
Primer > Export Primers....
Check your result
- The primer records you kept are available in the plasmid, library, or export file you chose.
If it doesn't look right
- No primers found: the region may be too constrained. Widen the region or retry with defaults.
- Poor primers: adjust the region first, then retry with the default constraints before making narrower changes.
- Gibson tail options are incomplete: confirm the required backbone context is available before retrying.
- Import or export actions are disabled: confirm the primer library is loaded and the current plasmid context is valid.