Manage workspaces
Use workspaces to keep related projects, parts, and validation results together so you always know where new work is going.
Before you start
- You have one or more projects or sequences to manage.
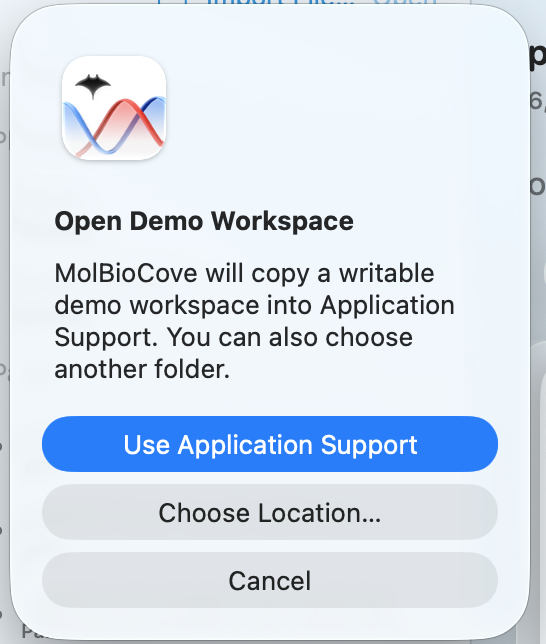
Step 1 — Open or create a workspace
- Use the welcome screen on first launch, or open the
Workspacesmenu from the main app. - Choose
New Workspace...when you need a clean project area. - Choose
Manage Workspaces...when you want to switch to an existing saved workspace. - Confirm the main window reloads into the workspace you want to use.
 Choose the workspace first so you know exactly where new imports and edits will land.
Step 2 — Keep related work together
- In the active workspace, keep related plasmids, parts, and sequencing results together.
- Use a clear folder structure in
Projectsbefore you keep adding more data. - Confirm new imports belong in the current workspace before you continue.
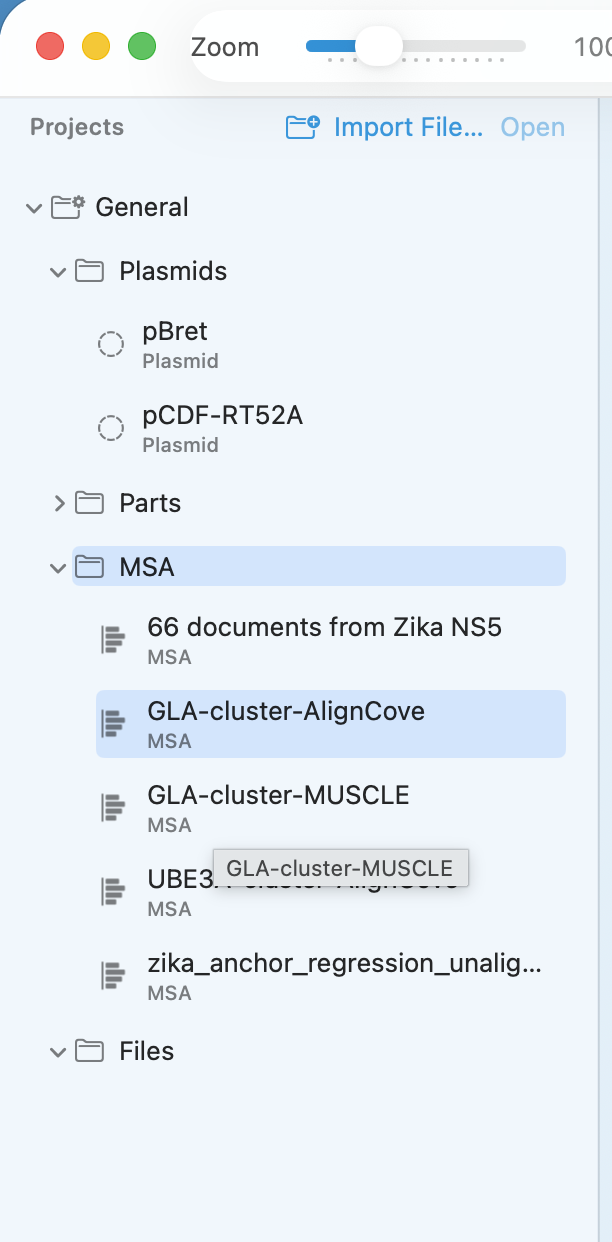 Once the workspace is open, keep the active tree clean enough that the next construct is obvious to find.
Step 3 — Branch or clean up active work
- In the
Workspacesmenu, useDuplicate Current Plasmidbefore edits that may fork the design. - Use
Archive Current Plasmidwhen a construct should stay on record but leave active work. - Switch workspaces again if you realize the current work belongs somewhere else.
Check your result
- Your work is organized logically.
- You can find the active projects quickly.
- Finished or inactive constructs are no longer cluttering the active tree.
If it doesn’t look right
- Missing data: confirm the correct workspace is active.
- Too many items: archive finished constructs or split the work into clearer groups.
- Confusion between projects: switch workspaces or reorganize the project tree before adding more data.