Edit a DNA sequence
Use this workflow when you need to modify a sequence, such as correcting a mutation, inserting a feature, or adjusting a coding region.
Before you start
- A sequence is open in
Sequenceview. - You know the region you want to modify.
Step 1 — Select the region to edit
- Click and drag to select the bases you want to change.
- Adjust the selection before you type so only the intended region is highlighted.
- If the bases are crowded, zoom in before you edit.
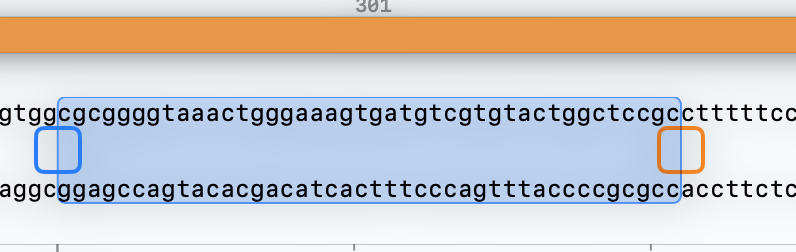 Select the exact bases first so the edit stays confined to the region you intend to change.
Step 2 — Make the edit
- Type directly to replace the selected sequence.
- If nothing is selected, place the caret where you want the change and insert new bases.
- Use
Deleteor paste sequence when you need to remove or replace a short block. - The sequence updates immediately as you type.
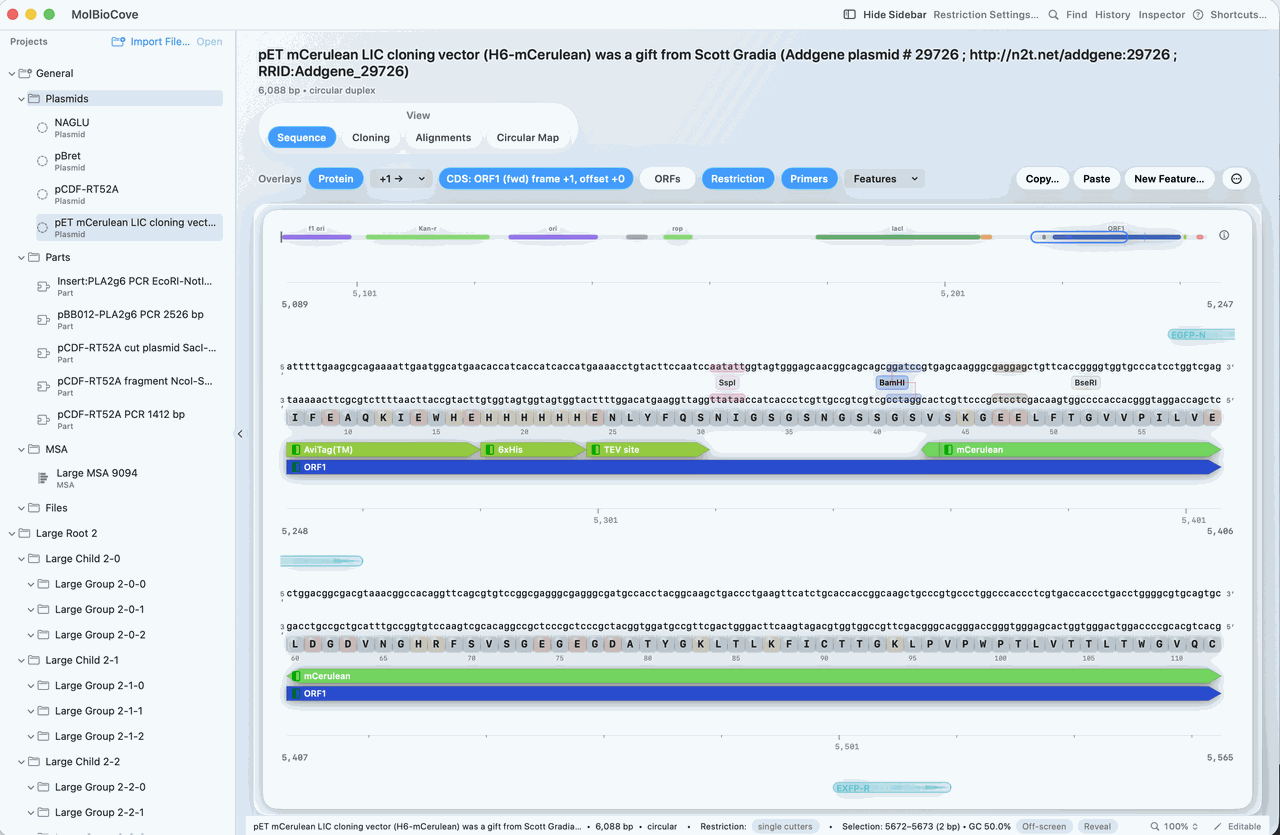 Edit directly in
 Sequence view so you can watch the change in context as you type.
Step 3 — Review the result
- Check that the sequence reflects your intended change.
- Review nearby features if the edit touches a CDS, primer site, restriction site, or another annotated region.
- If you are editing coding sequence, turn on
ProteinorORFsto confirm the reading frame and translation still look correct.
Check your result
- The correct region was modified.
- No unintended bases were changed.
- Features and annotations still align.
If it doesn’t look right
- Unexpected amino acid changes: check for a frameshift with
ProteinorORFsturned on. - Feature moved or disappeared: verify the edit boundaries around the annotated region.
- Wrong region edited: correct the bases, then reselect more carefully.