Start here
Follow this guide to import a DNA sequence, inspect it, make a small edit, and continue to your next step.
This walkthrough uses a demo sequence so you can explore safely.
You’ll finish with
- a sequence loaded in RayCrest MDS
- a confirmed edit
- a clear next step, such as primers, cloning, or validation
Before you start
- Open RayCrest MDS.
- Make sure you can reach the welcome screen or the
Filemenu.
Step 1 — Open a safe practice sequence
Open the demo workspace so you can practice without changing live work.
- On the welcome screen, choose
Open Demo Workspace. - Wait for the workspace to load.
- In the left sidebar, select a demo plasmid.
- If needed, set the top
Viewpicker toSequence.
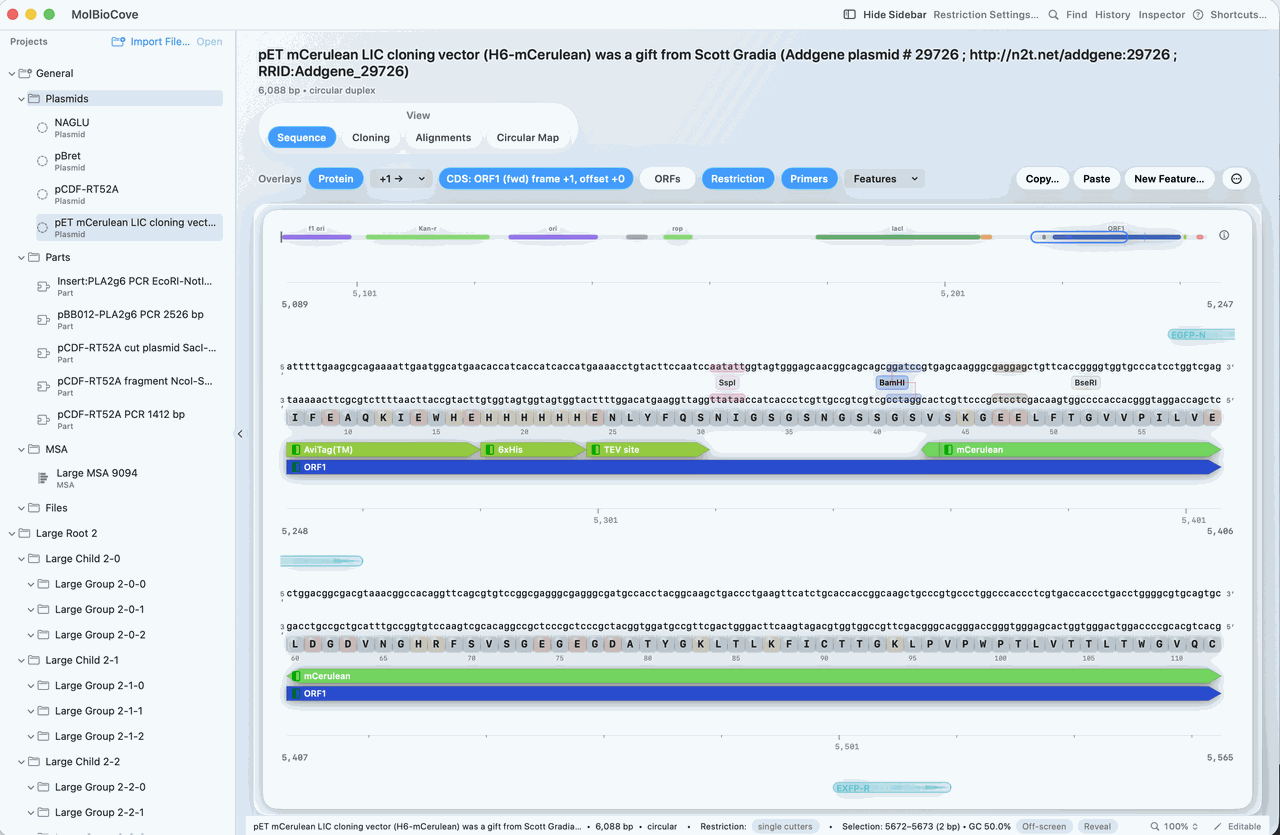 This is the safe practice state you want first: a real sequence open in the viewer and ready to inspect.
Check your result
- The sequence appears in the viewer.
- You can scroll and zoom through the sequence.
- The sidebar and view controls are visible.
Step 2 — Make one small edit
Select a short region and replace it so you can confirm editing works end to end.
- Click and drag to select a short region.
- Type a small base change to replace the selected region.
- If the change affects coding sequence, turn on
ProteinorORFsto review it.
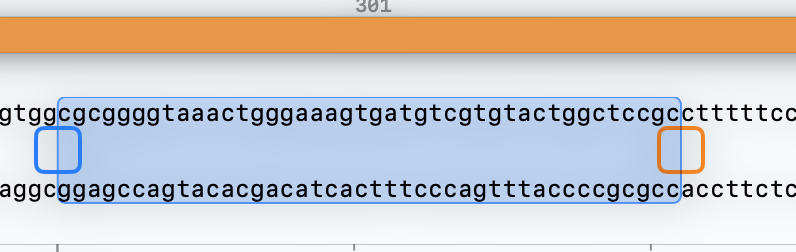 This is the first place most users hesitate. Make the selection first, then edit only that region.
Check your result
- Your edit is visible in the selected region.
- The sequence stays active in the viewer.
You can always undo changes
If you make a mistake while editing, you can undo it immediately.
- Press
⌘Zto undo your last change. - Open
Historyto view previous states of the sequence.
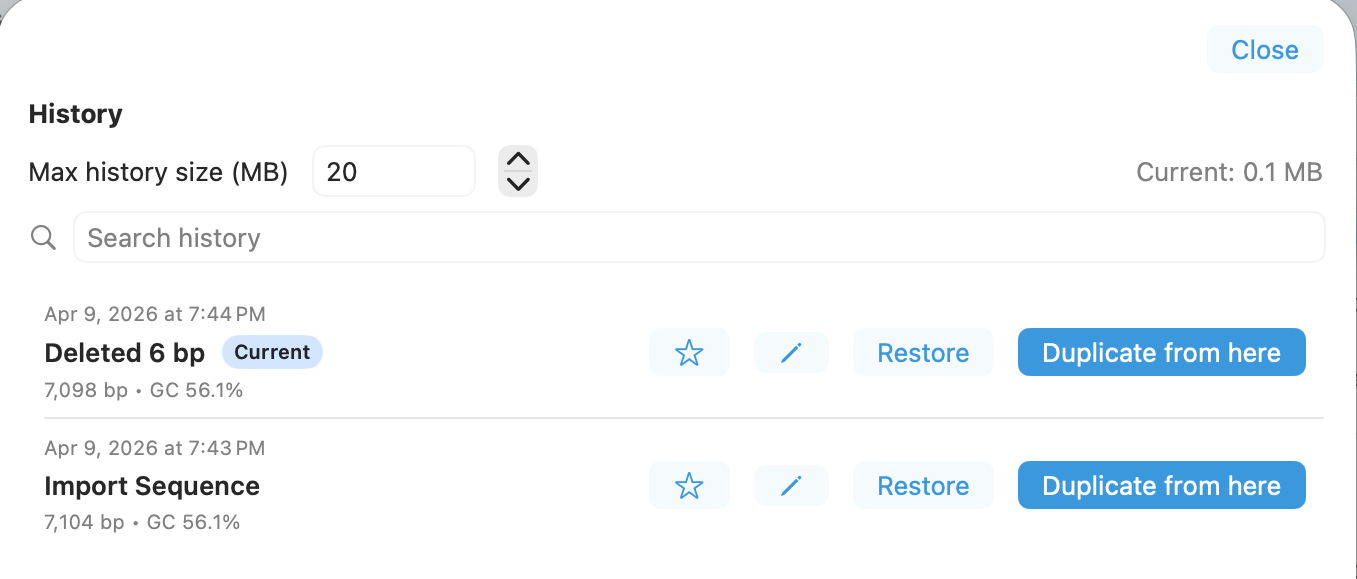
You can restore any previous state or branch from it without losing your work.
Step 3 — Export or continue
Save a handoff file, or keep the edited sequence open and move straight into the next workflow.
- If you want a handoff file, open
File > Export Sequence (FASTA).... - Choose a save location and save the file.
- If you want to keep working instead, leave the edited sequence open and move to the next workflow.
Check your result
- A FASTA file is saved to the location you chose, or the edited sequence remains open for the next step.
Watch for this
- If export commands are disabled, select the plasmid again in the sidebar before retrying.
You’re ready
You now have:
- a sequence loaded
- a confirmed edit
- a clear next step
From here, continue with primers, cloning, or validation.
What to do next
Continue your workflow:
Explore further: